Pocket Handbook
Sorry. We’re having trouble copying to your clipboard.
Try directly copying the link below.
Interface & Gestures
Give your art that professional finishing touch with the Adjustments menu's amazing capabilities.
Interface
Access cinema-quality filters and effects in the powerful Adjustments menu.
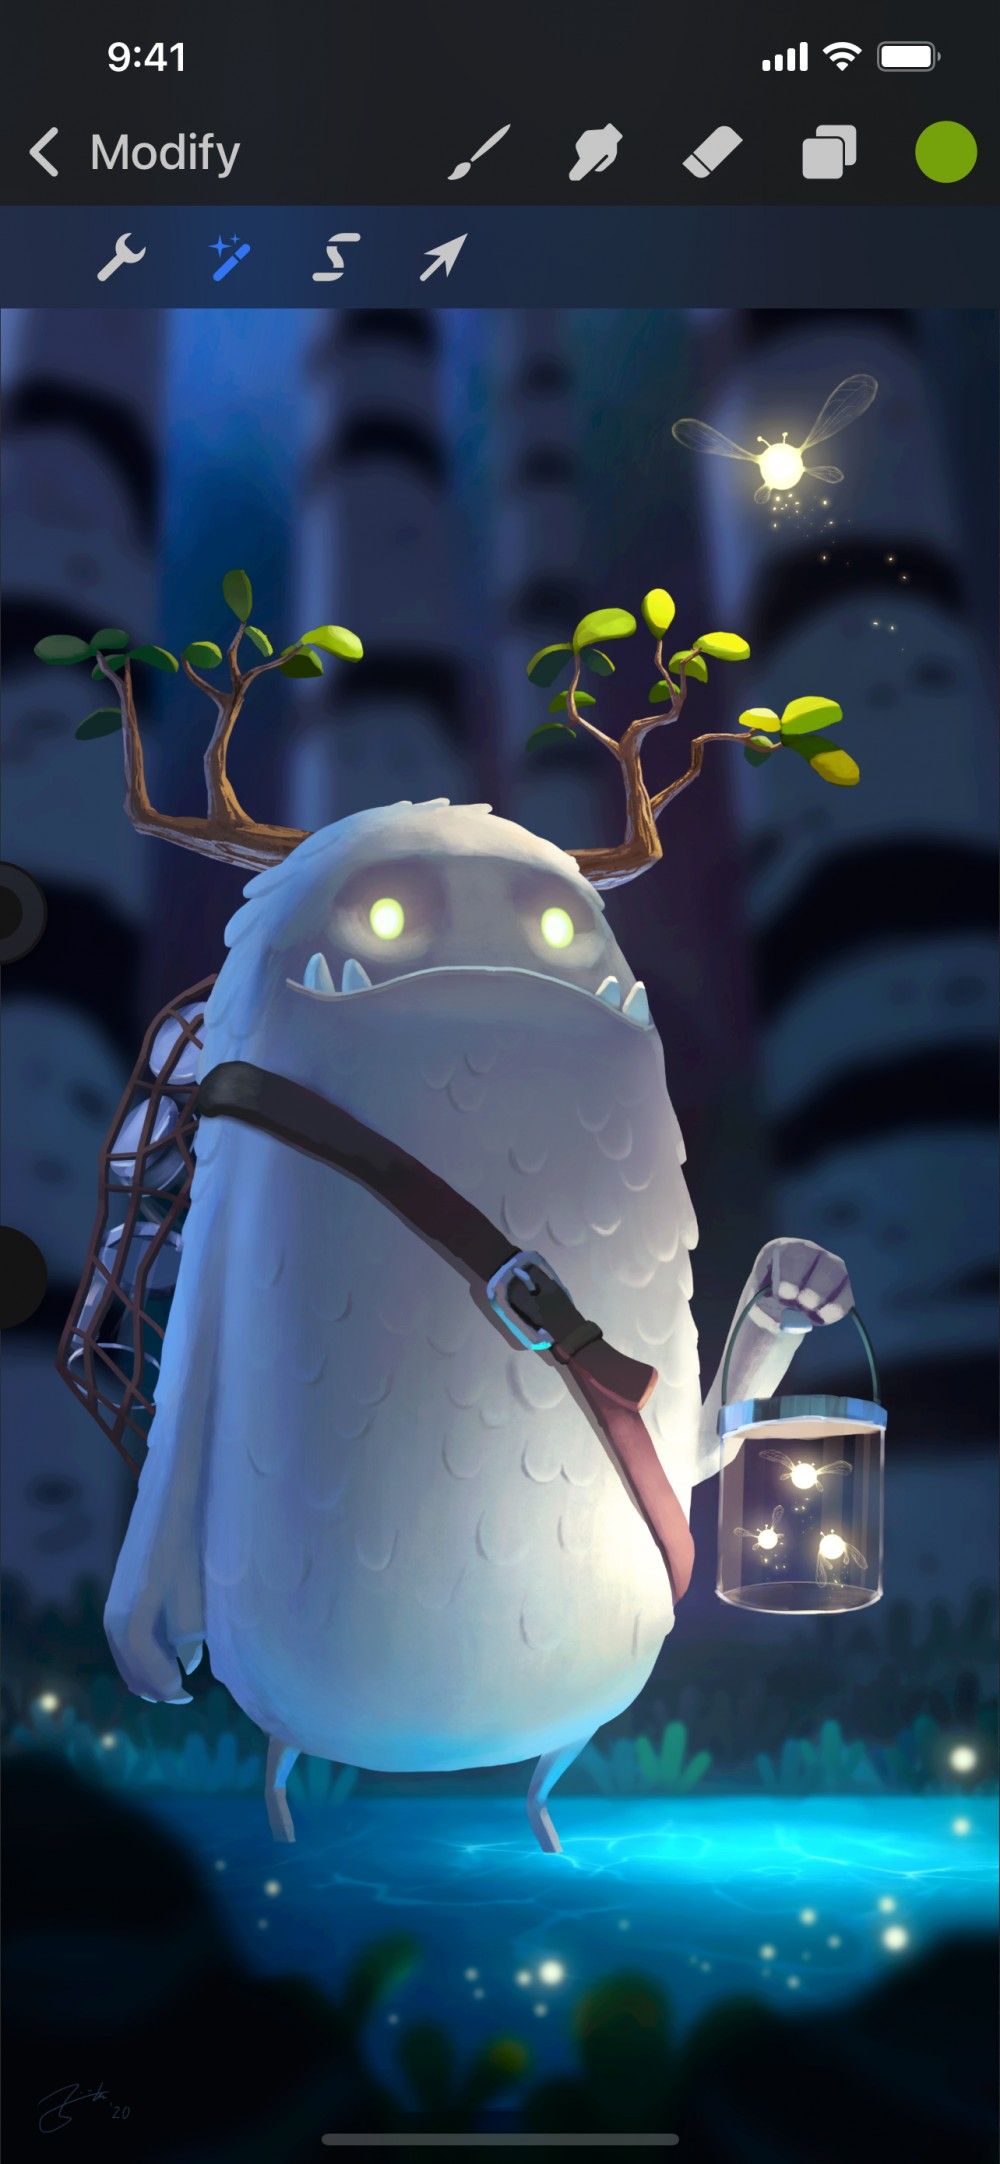
Adjustments Button
In Modify you’ll find a magic wand symbol. This is the Adjustments icon.
Tap it to open the Adjustments menu.
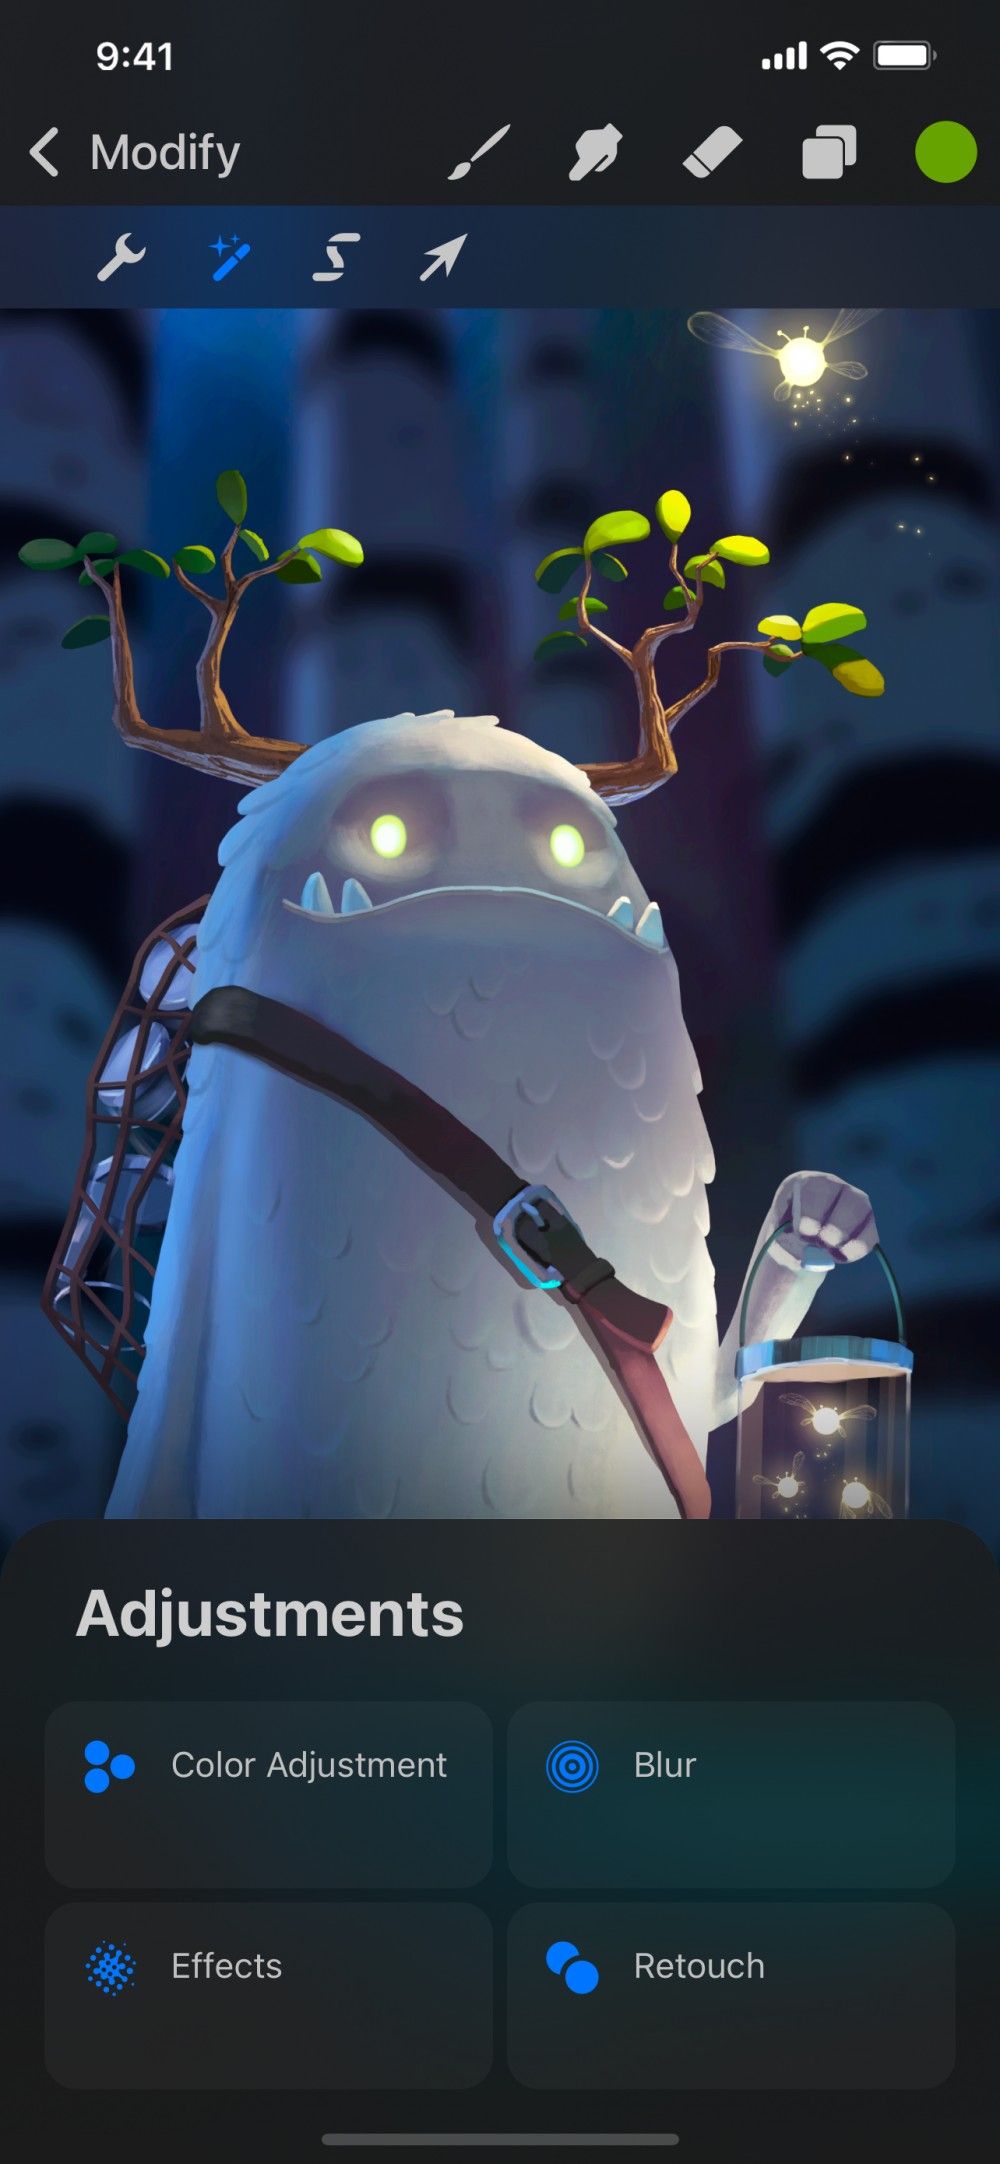
Adjustments Menu
Polish your image with four different adjustment types.
There are four types of adjustment available through the menu — Color Adjustments, Blur, Effect and Retouch. Color Adjustments adjust and fine tune color within your image. Blur filters affect your image via various blurring effects. Effects alter your image using various special effects, while Retouch uses pixel manipulation.
When activated, adjustments affect your current primary layer except for Liquify.
Color Adjustments
These four versatile, professional tools adjust and balance the colors in your image. Tap a Color Adjustments to activate it, then apply it using the toolbar at the bottom of the screen.
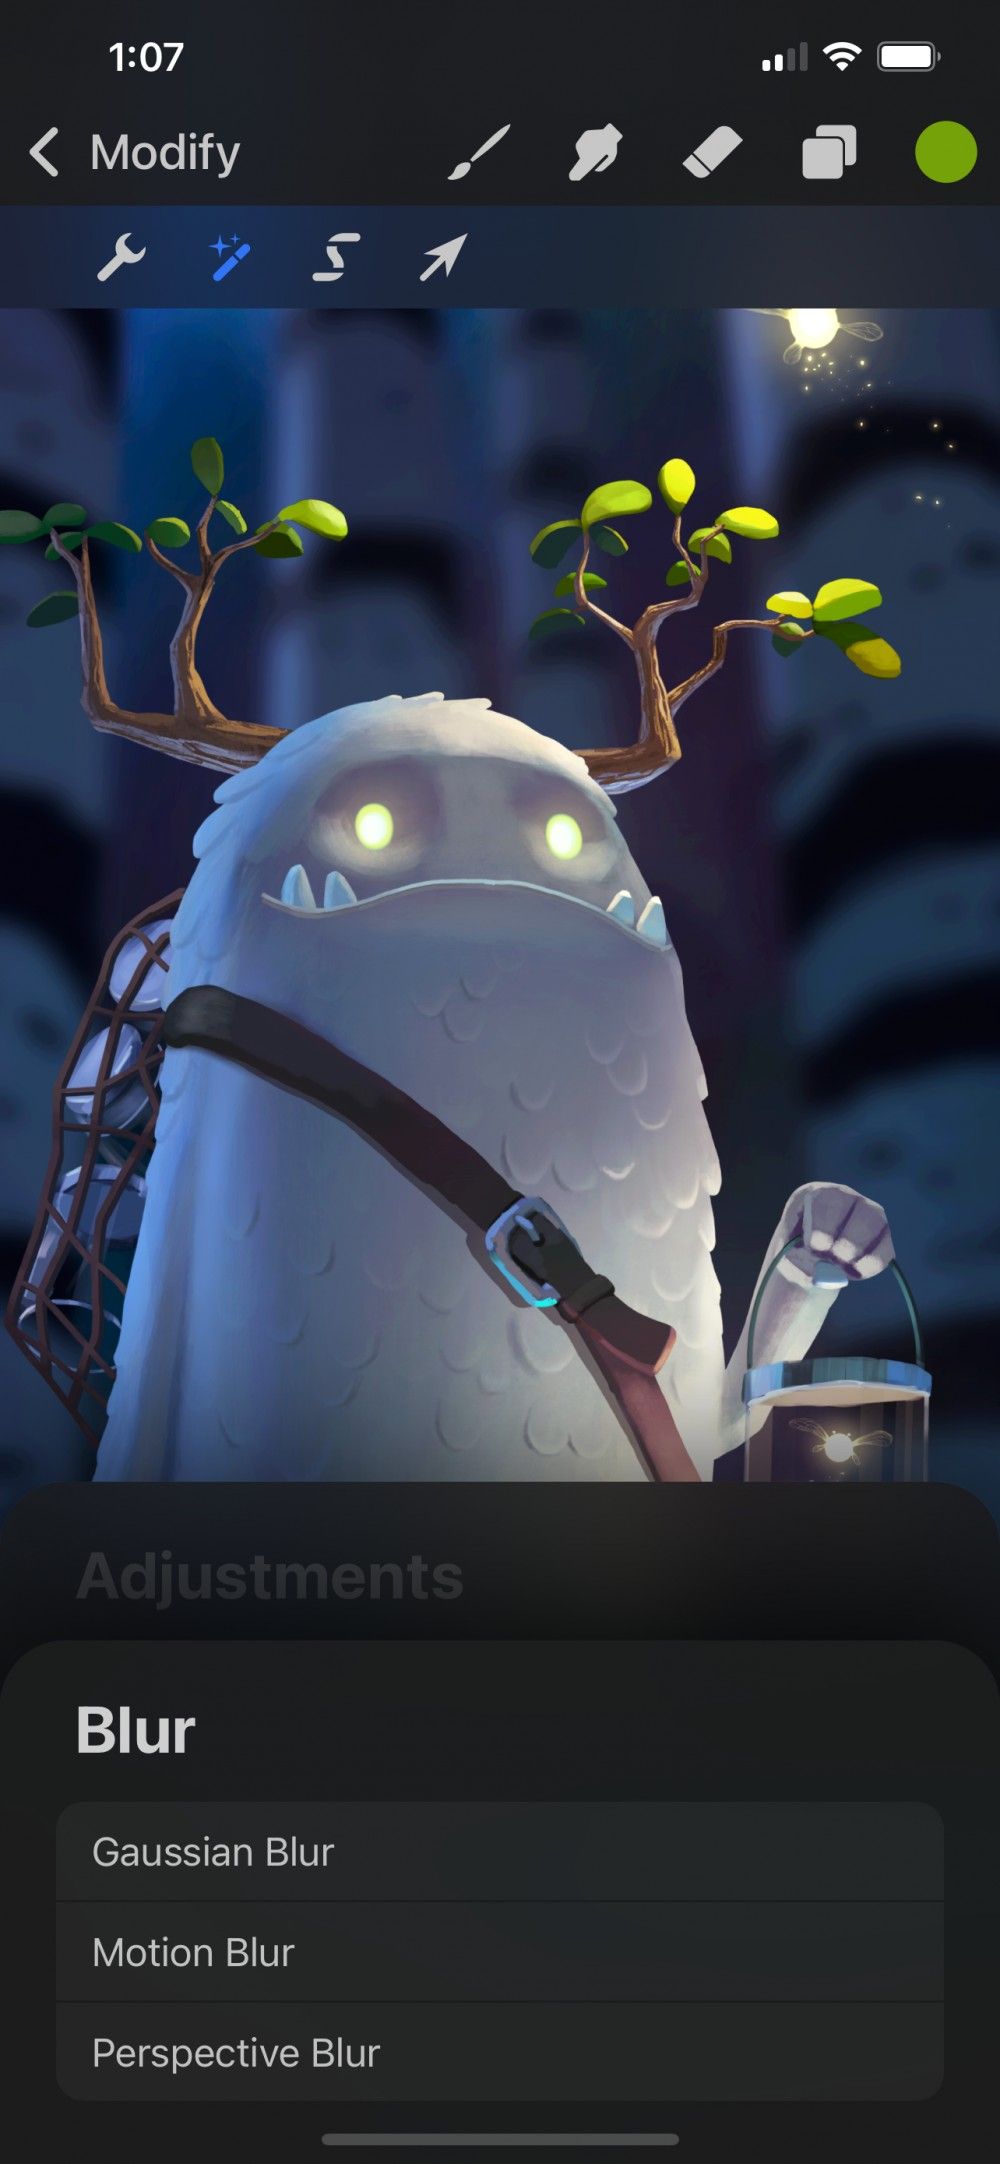
Blur
Blur use three different methods to apply blur effects to you image – Gaussian, Motion and Perspective Blur. Tap Blur to activate it, select which blur you would like to apply and use the toolbar at the bottom of the screen.
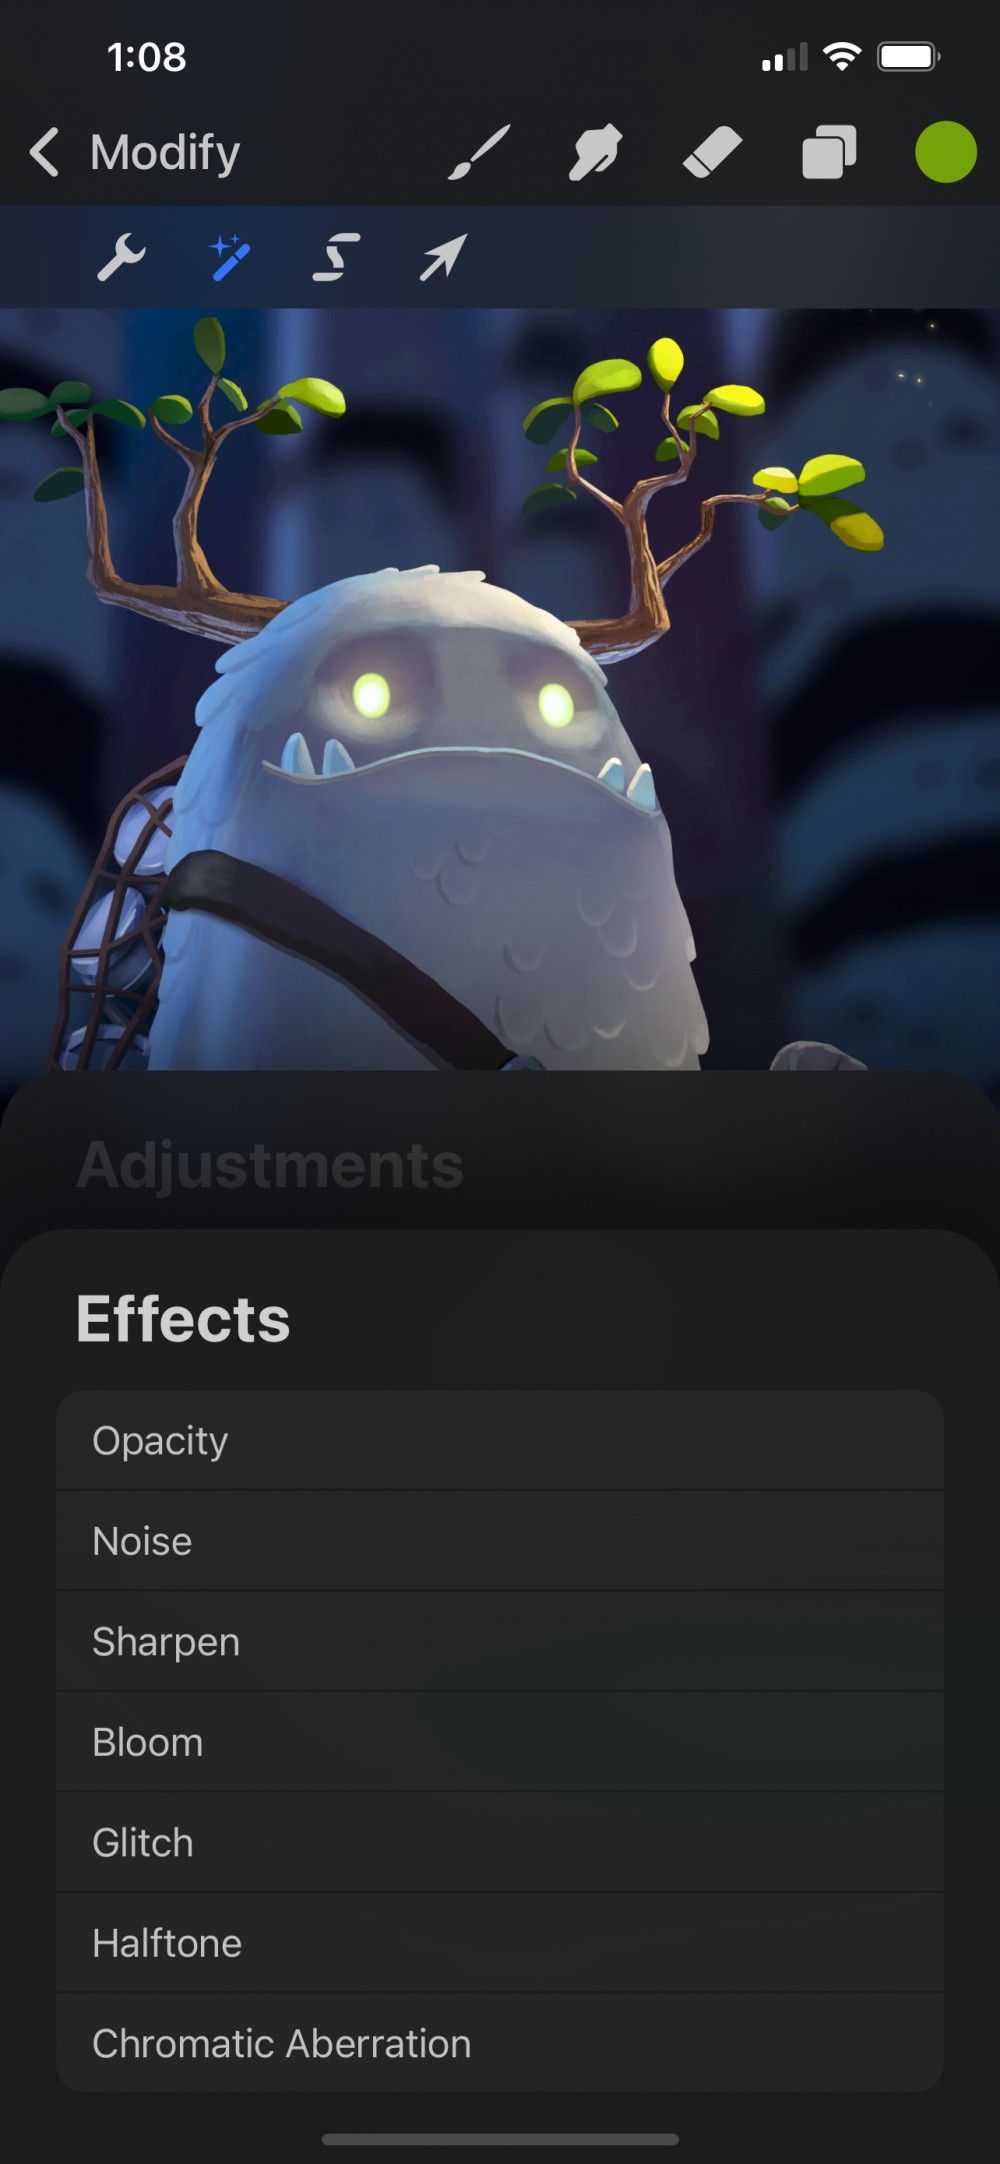
Effects
The Effects menu offers 6 powerful filters. Use these for fast, simple image adjustments and fun special effects.
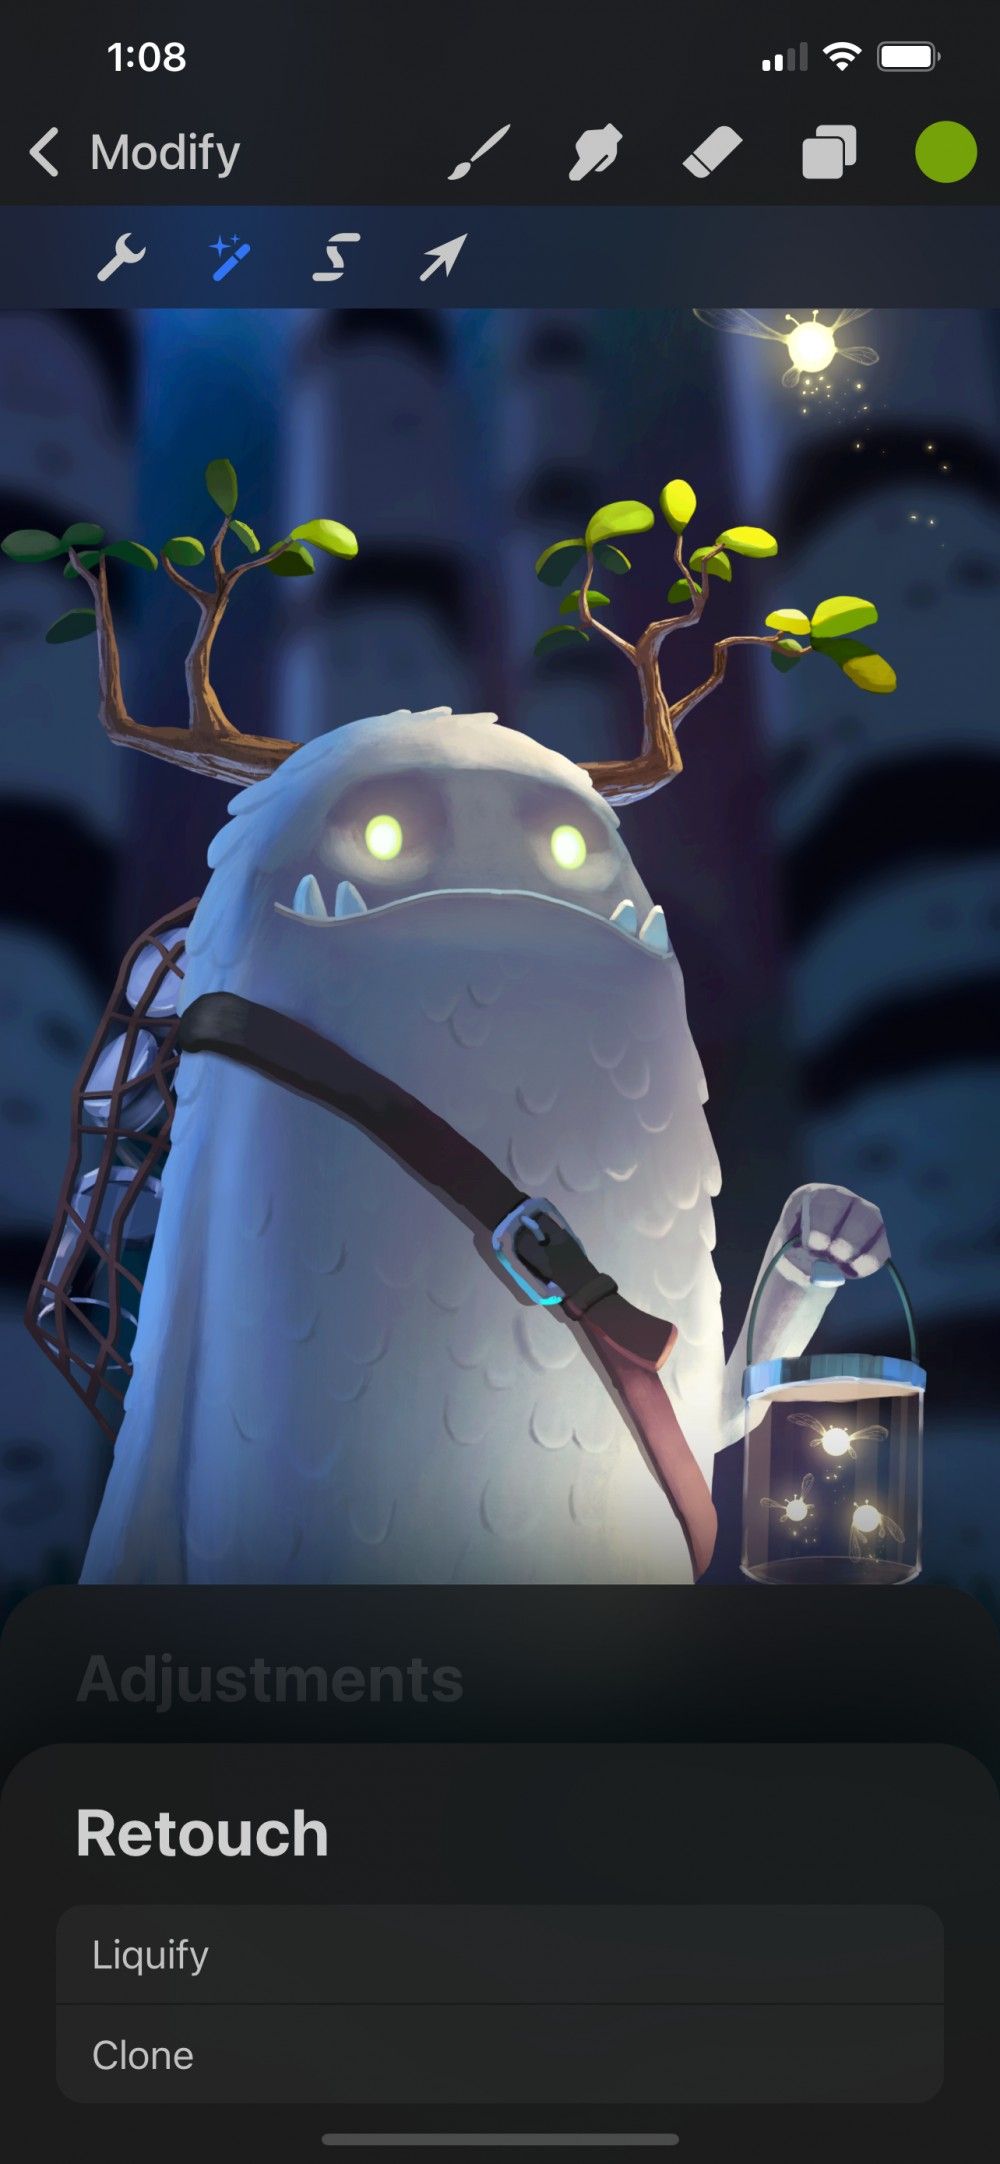
Retouch
Retouch covers the pixel manipulation tools Liquify and Clone. Use these to add professional retouching to your images.
Color Adjustments
Take your art to the next level with industry-standard color adjustment tools.
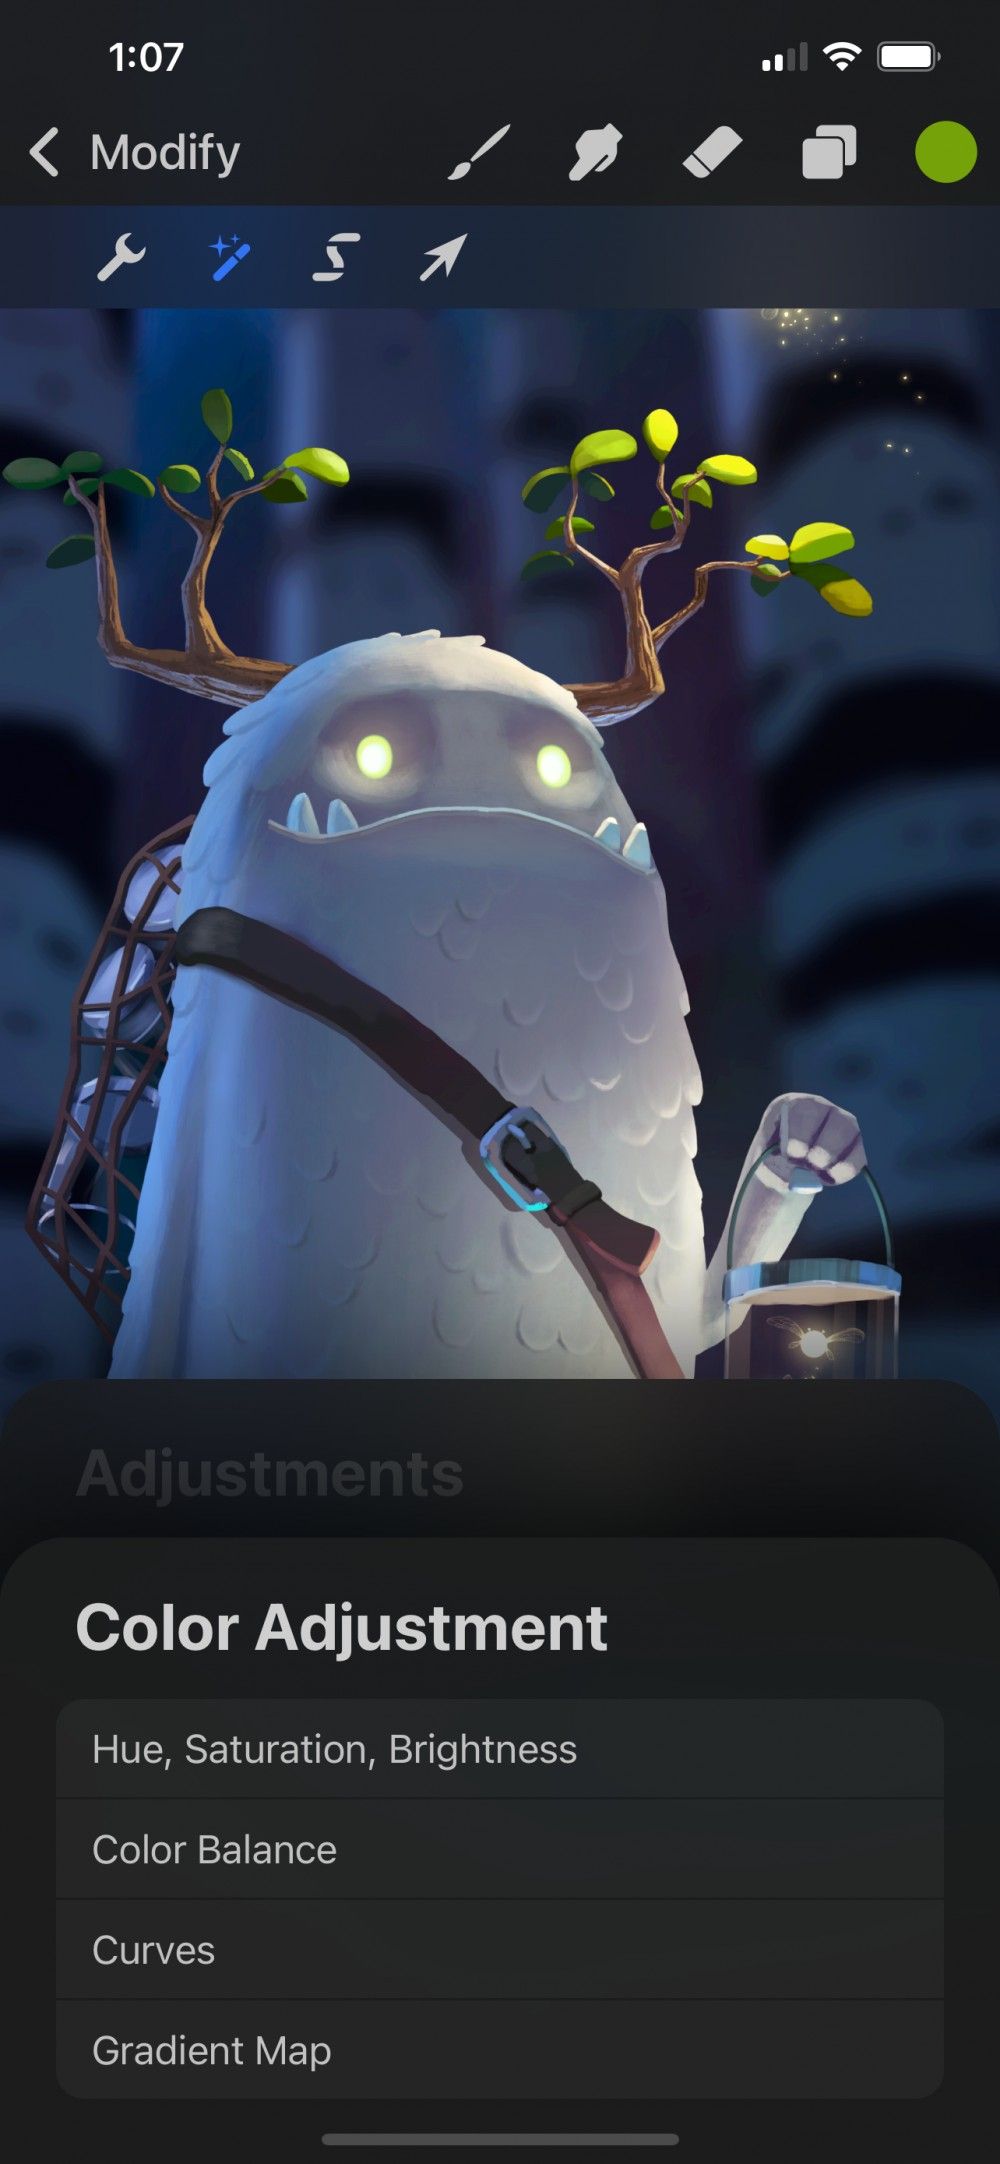
Color adjustments offer a variety of ways to create color balanced images. Read on for a brief overview each color adjustment. Or, explore each tool in more depth through the Handbook pages to follow.
Modify the vibrancy and brightness of your image.
Adjust the color value, vibrancy and lightness in your image with simple sliders.
Adjust the Hue, Saturation and Brightness with sliders to make striking changes to your color of your image.
Correct or stylize your color scheme by changing the balance of hues that make up your artwork.
Fine tune the tonal values of your artwork with color balance sliders. Use buttons to apply changes to only the highlights, mid-tones, or shadows of your artwork.
Modify the color and tonal balance in your image in one smooth motion using the Curves graph.
Adjust the overall gamma and amounts of Red, Green, and Blue in your image. Do this using an intuitive curve and helpful histogram that clearly represent the color distribution in your image.
Map alternative colors to the highlights, mid-tones and shadows of your image.
Map various preset and custom gradient palettes to your image using gradient mapping.
Learn more about Color Adjustments
Blur
Add motion or perspective to your artwork, or soften areas to add focus to your composition.
Read on for a brief overview each Blur. Or, explore in-depth through the Handbook pages to follow.
Smooth and soften your image.
Give your image a soft, out-of-focus look. Drag your finger right or left to apply an even blur to your current layer.
Learn more about Blur .
Create the illusion of fast movement.
Create the appearance of speed and motion by applying a streaky blur to your layer in the direction you drag your finger.
Learn more about Blur .
Create zooming and blasting effects.
Drag a disc into place to set the center point, and drag outside it to create a blur. The Positional setting radiates a blur in every direction from the center point. The Directional setting blurs in a single direction.
Learn more about Blur .
Effects
Access cinema-quality filters and effects in the powerful Effects menu.
Effect filters are quick tools designed to create a variety of fun and punchy visual effects. Read on for a brief overview each effect. Or, explore each tool in more depth through the Handbook pages to follow.
Adjust the transparency of layers and objects from solid to clear and anywhere in-between.
Control the opacity of objects and layers with the slide of a finger.
Learn more about Opacity
Add grain to your image for the organic feel of old film stock or newsprint.
Increase or decrease the graininess of your image by dragging your finger right or left. Choose from three different types of Noise — Clouds, Billows and Ridges. Adjust the Scale, Octave and Turbulence to control how your Noise appears.
Learn more about Noise .
Bring out the detail in your image for a crisp, focused look.
Drag your finger left or right to set the level of sharpening you apply to your image.
Learn more about Sharpen .
Create the illusion of glowing light.
Create realistic looking lighting effects to an isolated object or across an entire image. Adjust the Transition, Size and Burn to control how your Bloom appears.
Learn more about Bloom .
Add analogue and digital video inspired glitches and distortion to your artwork.
Add four different types of digital Glitch effects — Artifact, Wave, Signal and Diverge. Adjust how they interact with your artwork using individual controls for each effect.
Learn more about Glitch .
Create a retro color magazine or newspaper halftone print effect.
Choose from Full Color, Screen Print or Newspaper, and control the halftone pattern size.
Learn more about Halftone .
Shift the red and blue plane of a RGB image to mimic a camera lens’ Chromatic Aberration effect.
Apply Chromatic Aberration radially from a focal point using Perspective. Or apply horizontally and vertically using Displacement mode.
Learn more about Chromatic Aberration .
Retouch
These two tools can be used to subtly touch up an image or radically rearrange it.
Read on for a brief overview each filter. Or, explore each tool in more depth through the Handbook pages to follow.
Morph the pixels in your layer to create a variety of mind-bending warp effects.
Use extraordinary Liquify effects on your image with the touch of a finger. Select from Push, Twirl, Pinch, Expand, Crystals, and Edge modes. Control the Size, Distortion, Pressure and Momentum of the effect and adjust the amount to reconstruct your image.
Learn more about Liquify .
Paint one part of an image onto another part for quick and natural duplication. Or, instantaneously replace one part of an image with another part.
Position a disc over the part of the image you want to duplicate, and paint where you want the new copy to appear.
Learn more about Clone .
Adjustments Actions
Apply, preview and edit your changes with the Adjustments Actions.
Tapping the canvas when using Adjustments opens the Adjustments Actions menu which offers five options:
Preview all your changes ‘on’ and ‘off’;
Apply all changes and remain in the interface;
Reset all changes and remain in the interface;
Undo the last change and remain in the interface.
Cancel all your changes and exit out of the interface.
Hit Apply to commit to any changes you wish to keep and then Cancel to exit Adjustments.
Sorry. We’re having trouble copying to your clipboard.
Try directly copying the link below.
Still have questions?
If you didn't find what you're looking for, explore our video resources on YouTube or contact us directly. We’re always happy to help.