Pocket Handbook
Sorry. We’re having trouble copying to your clipboard.
Try directly copying the link below.
Bloom
Add realistic and atmospheric glows to your images.
Bloom
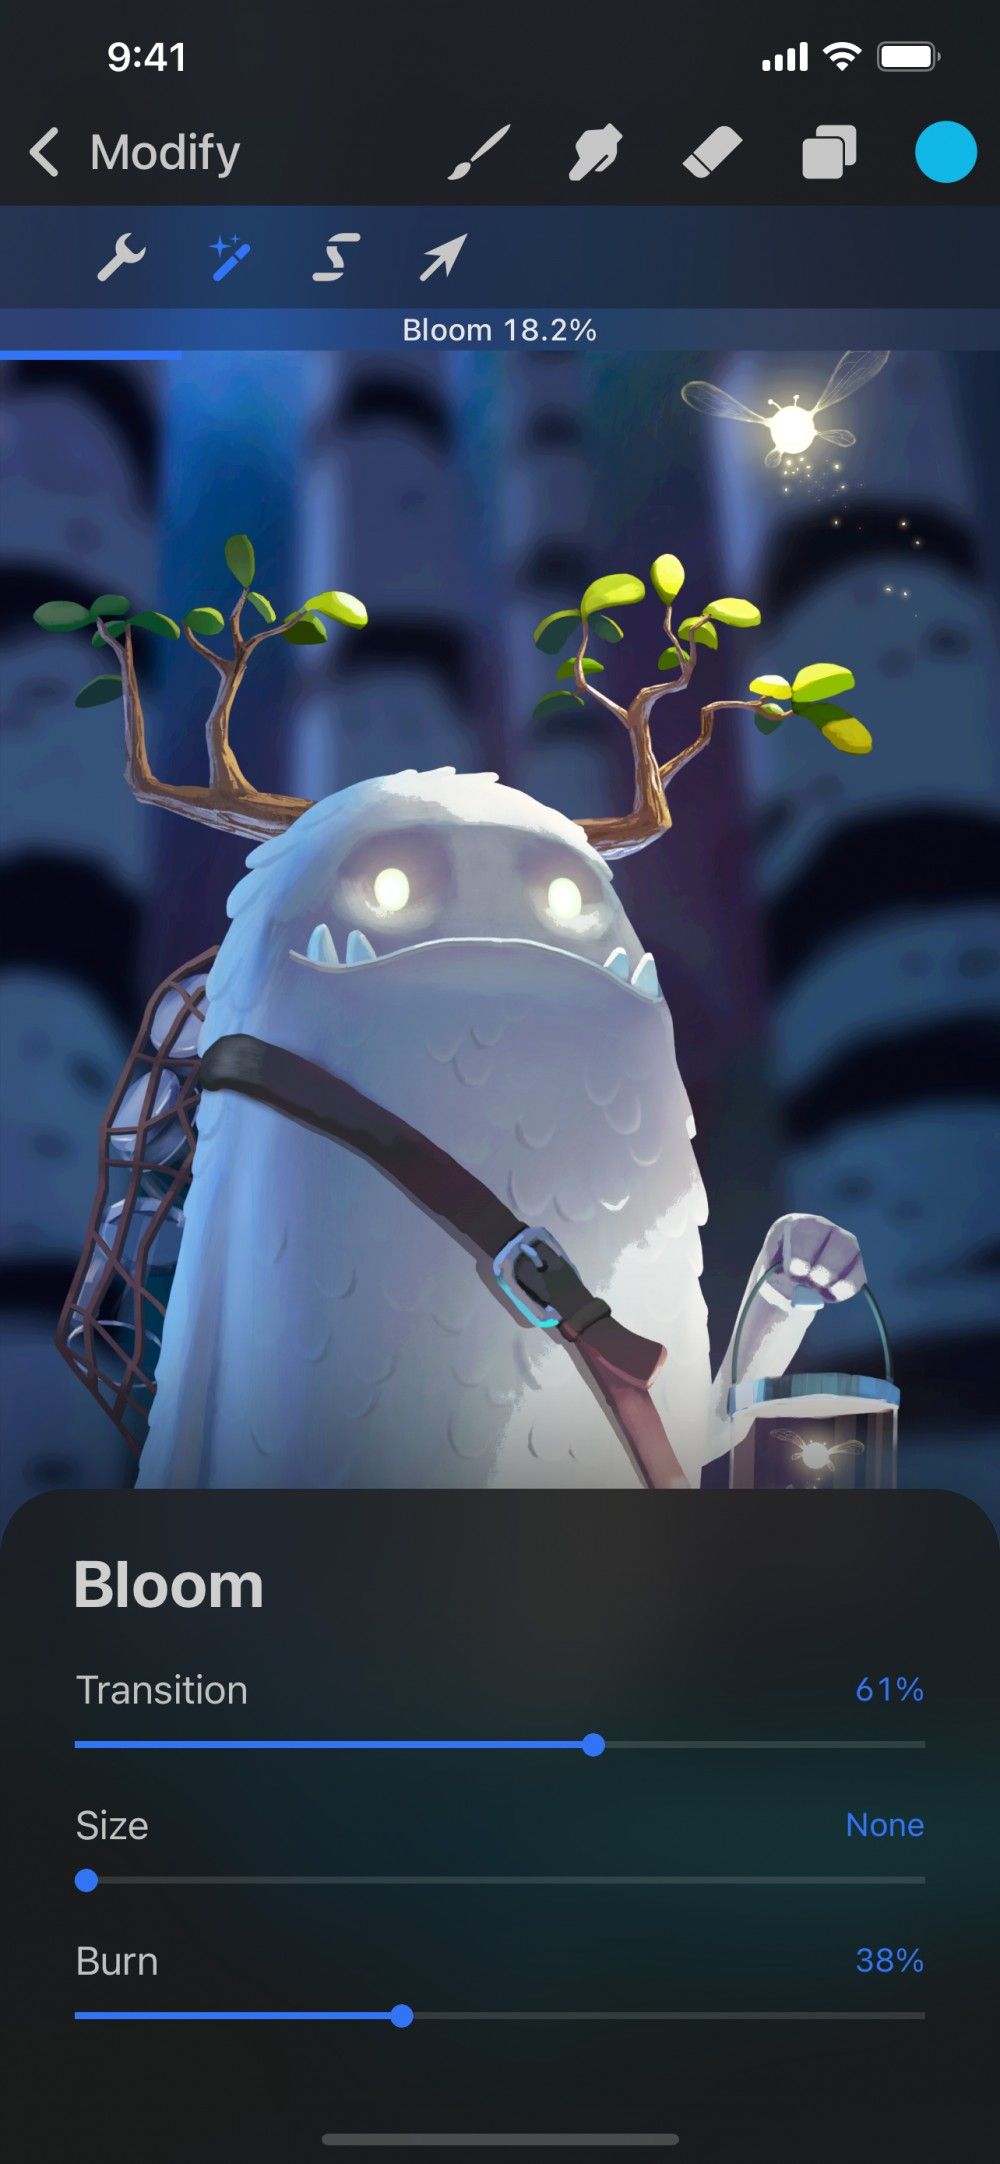
Apply an atmospheric glow to an image or single layer to create realistic looking lighting effects. Adjust the Transition, Size and Burn to control the Bloom’s appearance.
Tap Modify > Adjustments > Effects > Bloom to enter the Bloom interface.

Slide right and left to change the amount of Bloom.
At the top of the screen you’ll see a bar labelled Bloom. This displays the percentage of Bloom that is applied.
Initially, this is set at 0% Bloom. Drag your finger to the right to increase the amount of effect and to the left to reduce it.
At low percentages only the brightest areas of your image will emit a glow. The more the Bloom slider moves to the right, the more the bloom will spread to include darker areas in your image.
Interface
There are three different sliders that adjust the appearance and intensity of Bloom.
Transition adjusts the amount of Bloom applied to certain tones. At 0% Bloom applies to all the tones in your image. Moving the Transition slider to the right reduces the amount of Bloom applied to dark and mid-tones.
Size adjusts the size and blur of the Bloom edges.
Burn adjusts the intensity of the Bloom.
Commit Changes
Commit all changes with one touch.
To commit your changes and leave Adjustments, Tap the Adjustments icon again.
To commit to changes and stay in Bloom, Tap the canvas to invoke Adjustment Actions and Tap Apply.
Sorry. We’re having trouble copying to your clipboard.
Try directly copying the link below.
Still have questions?
If you didn't find what you're looking for, explore our video resources on YouTube or contact us directly. We’re always happy to help.