Pocket Handbook
Sorry. We’re having trouble copying to your clipboard.
Try directly copying the link below.
Options
Rename, Select, Copy, Fill and Clear. Master powerful Alpha, Mask, Reference and Merge functions through the Layer Options menu.
Layer Options Menu
The Layer Options menu offers you a broad range of ways to interact with layers at a touch.
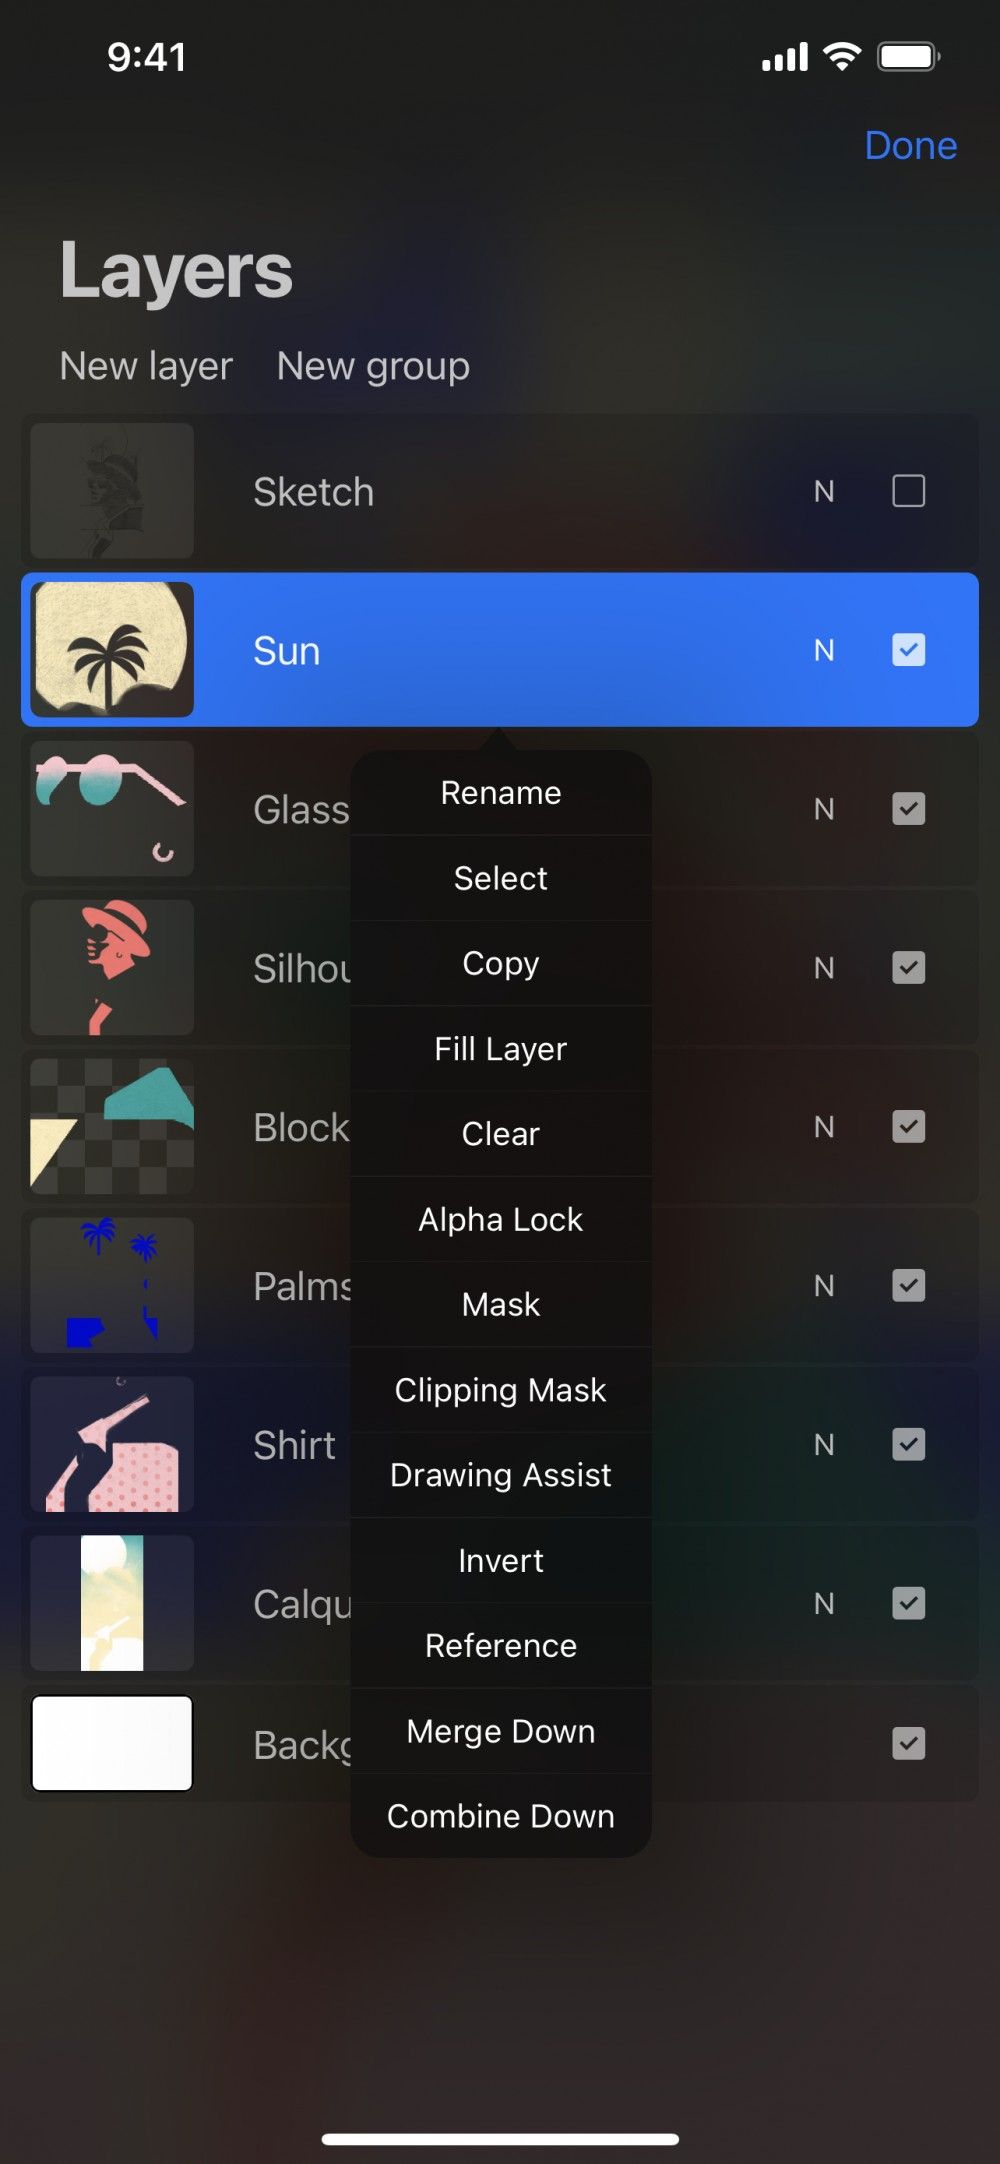

Open the Layers panel, tap a layer once to select it, and tap it again to access the Layer Options menu.
Rename
Give your layer a custom name.
Layers added to your project have sequentially numbered titles by default. For example, Layer 1, Layer 2, Layer 3… To help remember what’s on each layer, you can rename them.
In the Layers panel, tap a layer to bring up Layer Options, then tap Rename. Once renamed your layer and hit Return.
Select
Select the contents of a layer.
In the Layers panel, tap a layer to bring up Layer Options, then tap Select.
This will select only the non-transparent parts of the layer. These are parts where you have drawn, painted, or pasted images.
When a selection is active you’ll see areas outside the selection marked by moving diagonal lines.
From here, you can take all sorts of actions on the selected area. You can paint, transform, copy, feather or clear it, plus more.
The Selections section of the Handbook explores selection tools in greater depth.
Copy
Copy the active layer to the clipboard.
In the Layers panel, tap a layer to bring up Layer Options, then tap Copy.
Once you copy image data to the clipboard, you can paste it into another layer or a different Procreate Pocket canvas. You can also paste into an email, or into another app.
Fill
Fill a layer with flat color.
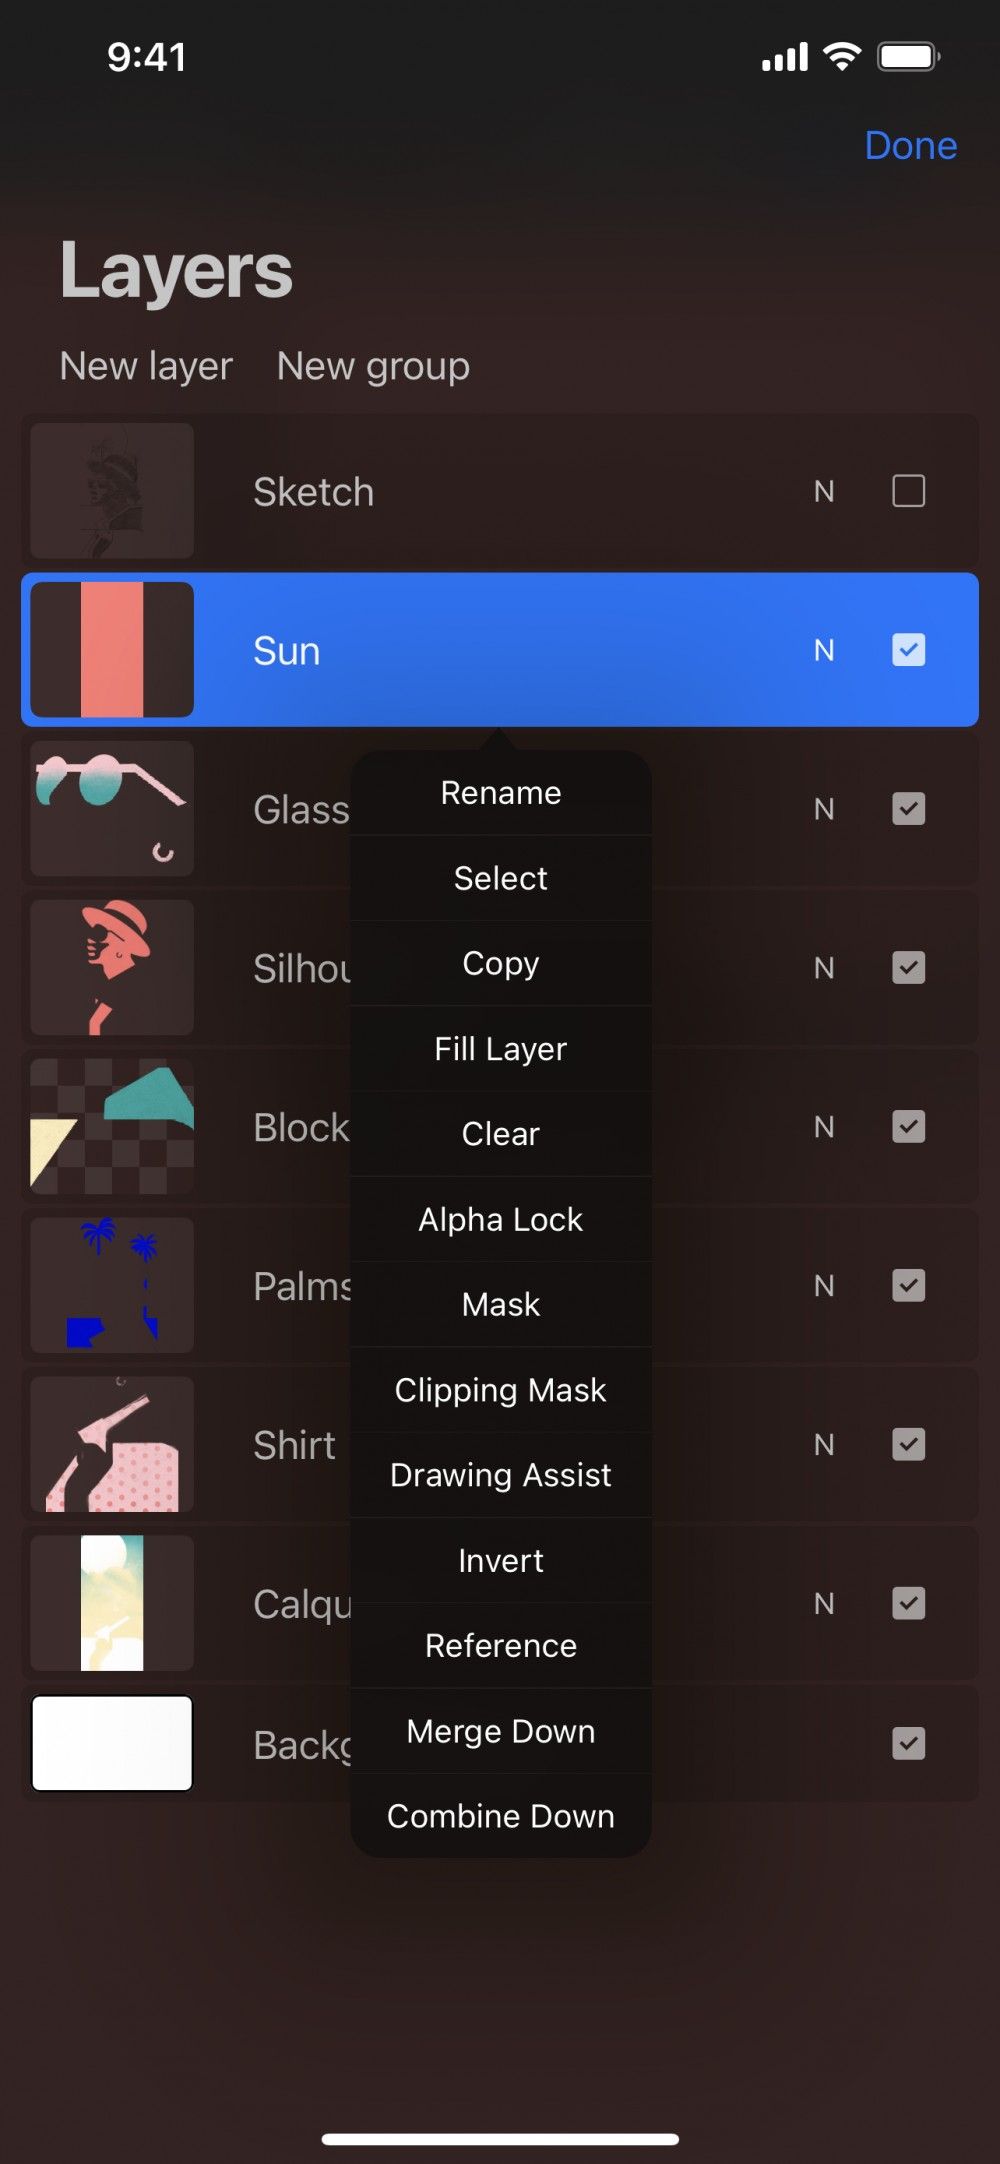
In the Layers panel, tap a layer to bring up Layer Options, then tap Fill Layer.
This will fill your entire layer with the currently selected color. The flat color will override all other layer contents.
Pro Tip
If you have Alpha Lock on, you can use Fill to color only the existing artwork on that layer. This will leave transparent areas untouched.
Clear
Clear an entire layer in an instant.

In the Layers panel, tap a layer to bring up Layer Options, then tap Clear.
This will clear the contents of the entire layer, and reset the layer opacity to 100%. It will not reset the blend mode or change the layer name.
Alpha Lock
Lock the transparency of a layer.

Any further drawing or painting will only affect the existing artwork on that layer. This will leave transparent areas untouched.
Alpha Lock is ideal for adding texture, detail, or shading to an element of your artwork without painting outside the lines.
In the Layers panel, tap a Layer to bring up Layer Options, then tap Alpha Lock.
Pro Tip
As a shortcut, you can swipe a layer left-to-right with two fingers to activate Alpha Lock.
A checkered background in the layer thumbnail indicates Alpha Lock is active.
Learn more about Alpha Lock in Masks .
Mask
Lock the transparency of any layer to a parent layer.
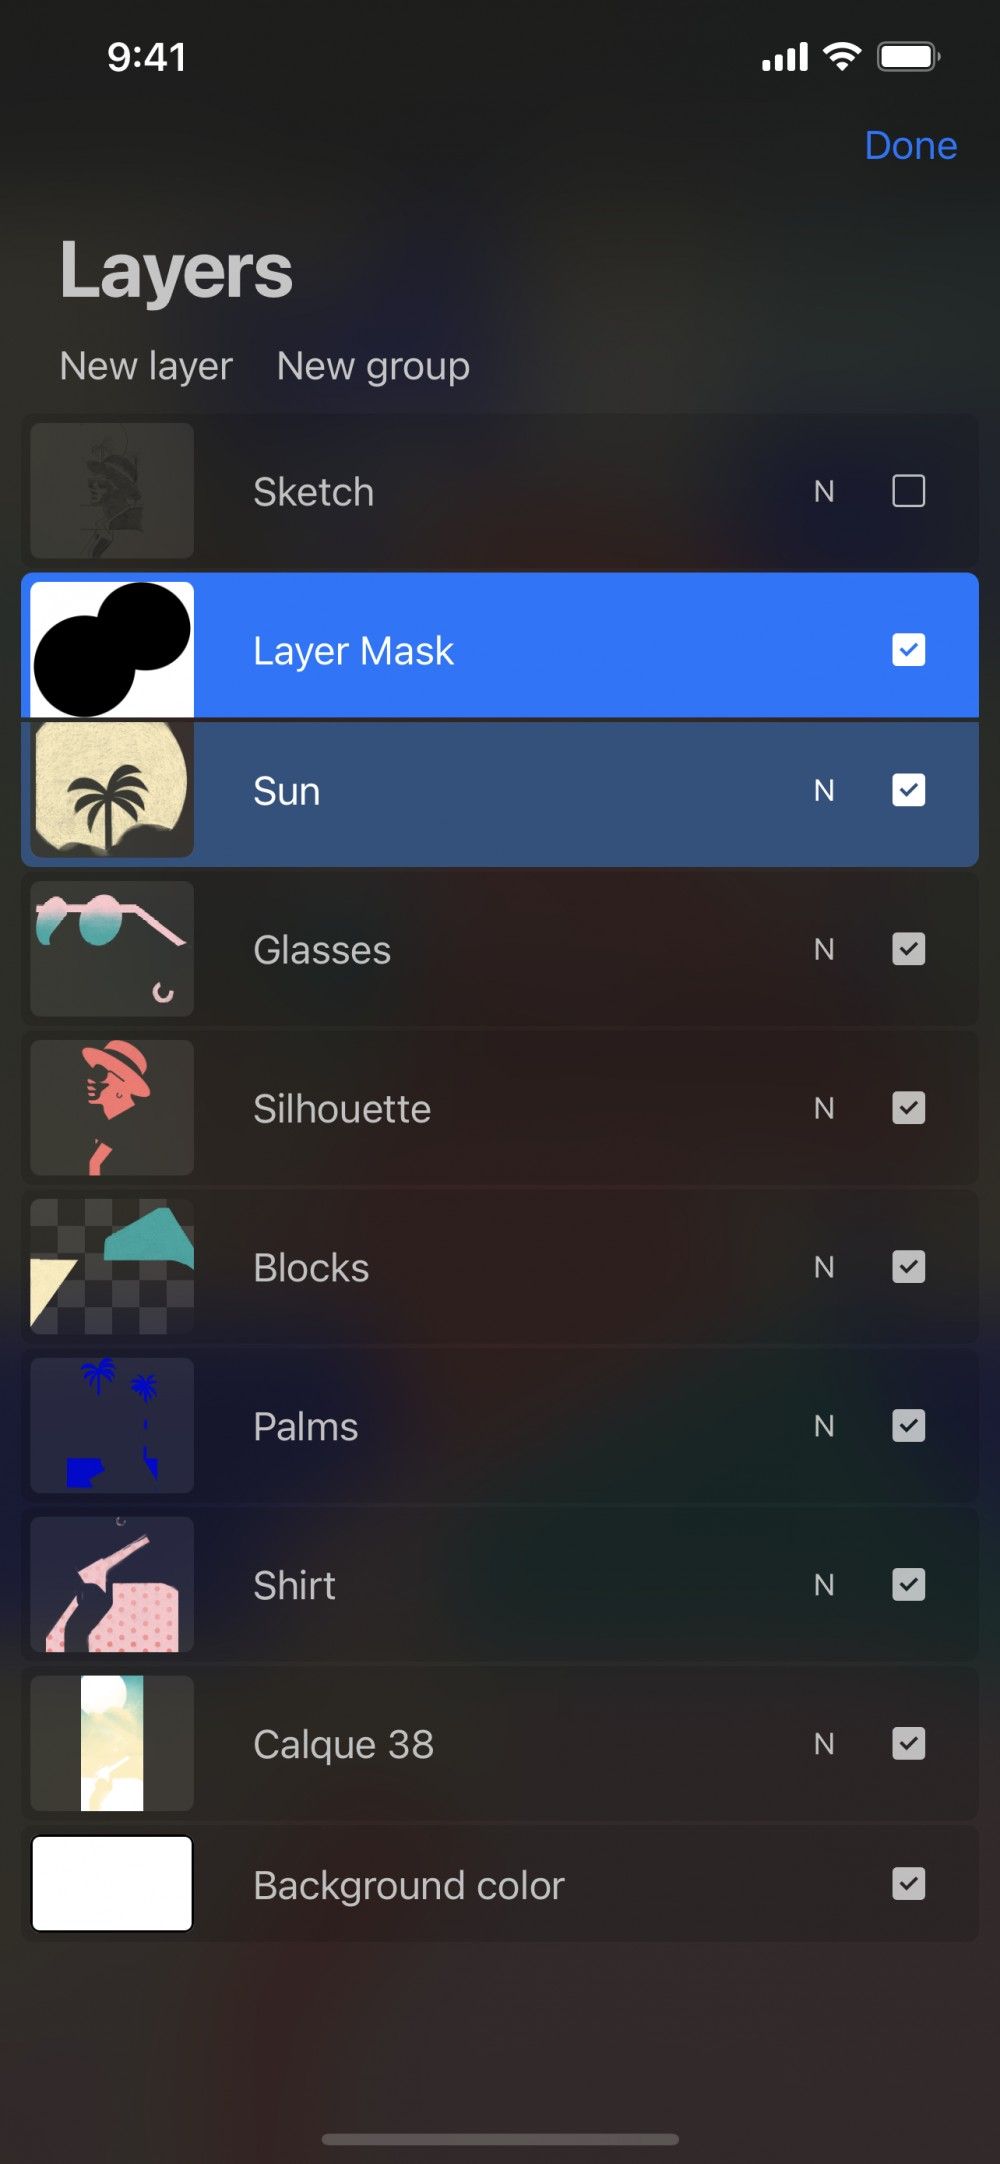
A Layer Mask functions like an Alpha Lock, with one difference. Instead of respecting the transparency of itself, it respects the transparency of a parent layer.
The changes you make on your Layer Mask can be removed or altered without affecting the parent layer. Layer Masks are a great way to modify the appearance of the parent layer non-destructively. This allows you to experiment with colors, textures, and effects without worrying about a change being permanent.
In the Layers panel, tap a layer to bring up Layer Options, then tap Mask.
If you don't like the result, remove it: swipe right-to-left on the Layer Mask, and tap Delete.
Learn more about Masks .
Clipping Mask
Edit one layer using the contents of another.
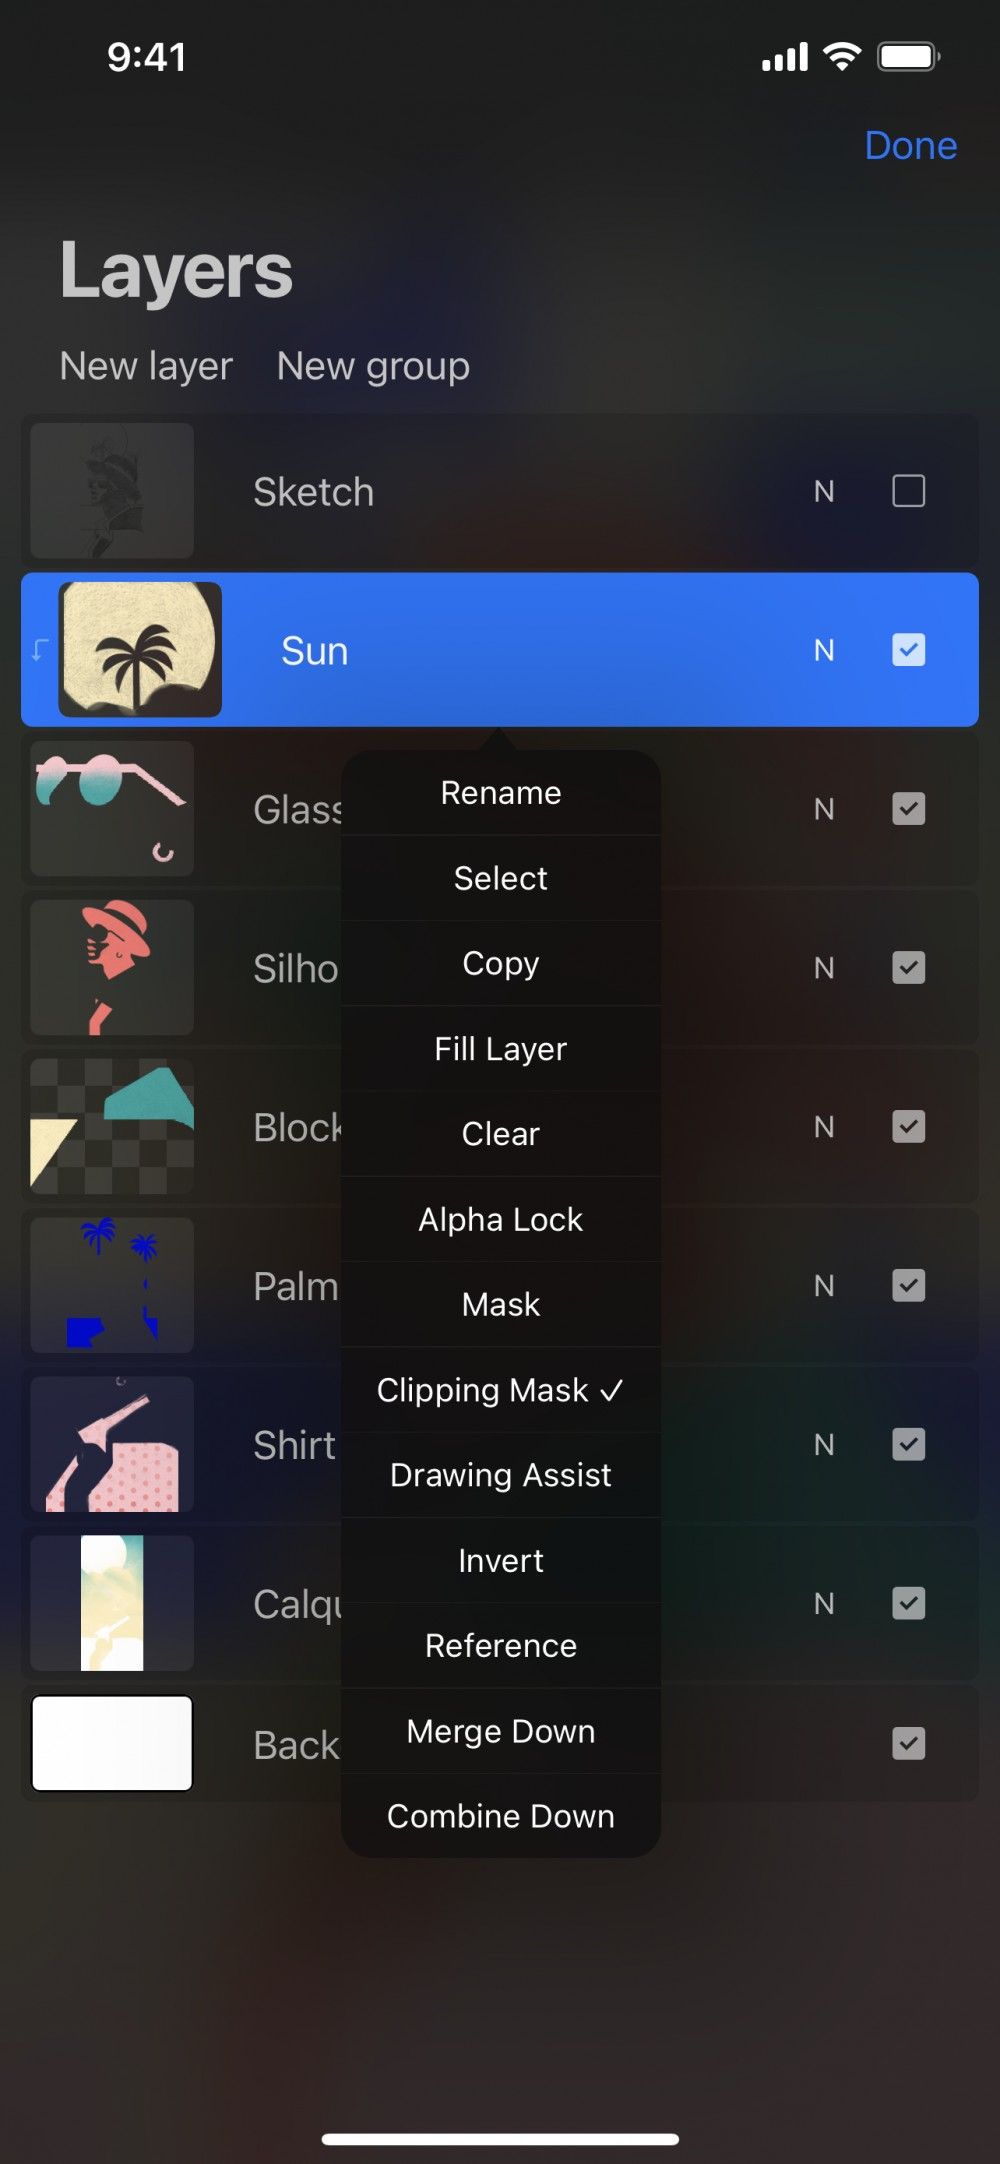
A Clipping Mask functions like a Layer Mask, but isn't attached to a single specific layer. A Clipping Mask acts as a separate and distinct layer of its own. You can link Clipping Masks to any other layer. Because of this, you can move a Clipping Mask from one layer to another. Or stack multiple Clipping Masks above a single base layer. This allows for the creation of complex visual effects.
Clipping Masks are a great way to modify your content non-destructively. This allows you to experiment with colors, textures, and effects without worrying about a change being permanent.
In the Layers panel, tap a layer to bring up Layer Options, then tap Clipping Mask.
Pro Tip
The Clipping Mask option is not available if your selected layer is at the bottom of the Layers panel.
If you don't like the result, remove it. Swipe right-to-left on the Clipping Mask, and tap Delete.
Learn more about Masks .
Drawing Assist
Automate your brushstrokes.

Drawing Assist works in tandem with Drawing Guides , it adds several types of automation to your brushstrokes.
It can ‘snap’ your strokes to a guide or perspective grid. Using Symmetry settings, it can reflect your strokes across the canvas in various ways. This allows you to draw mirrored or kaleidoscopic images.
In the Layers panel, tap a layer to bring up Layer Options, then tap Drawing Assist.
Repeat the process above to switch Drawing Assist off again.
Learn more about Drawing Guides .
Invert
Reverse the colors in your layer.

This replaces each color with its opposite complementary color.
In the Layers panel, tap a layer to bring up Layer Options, then tap Invert.
Repeat the process above to invert the colors back to their original shades.
Reference
Create color fills that respect inked lines on a separate layer.

This advanced feature helps cartoonists and concept artists keep color fills and ink lines separate.
With this setting, you can ColorDrop fills onto any Layer. The fills will behave as though they are flowing into the linework on the Reference Layer.
Preserving linework and colors on separate layers lets you recolor and adjust both elements independently.
In the Layers panel, tap a layer to bring up Layer Options, then tap Reference.
A Reference Layer displays the label Reference underneath the layer name.
Select another active layer and ColorDrop will fill into it based on the Reference Layer.
Learn more about ColorDrop .
Merge Down
Combine two layers into one.
Merge Down combines the active layer with the layer directly below it. The two layers become a single layer, and are no longer editable as separate objects.
In the Layers panel, tap a layer to bring up Layer Options, then tap Merge Down.
Pro Tip
You can merge multiple groups with a simple Pinch gesture. Pinch together the top and bottom layers you want to merge. These will merge together along with every layer between them.
Merging layers will apply any blending mode to the pixels below. It will also disregard any Alpha Lock you may have set.
If you reach your layer limit, look through your layers for any you can merge together. It’s best to merge only once you’re happy with what you’ve drawn and you know you won't change that layer.
When merging multiple layers, the single layer created will bear the name of the layer that was at the bottom of the merged layers.
Pro Tip
This action can be undone immediately with a two-finger tap. Note, you cannot come back to a merged layer later in the painting process and un-merge it.
Combine Down
Group layers together.
Combine Down merges the active layer plus the layer directly below it into a container called a Layer Group.
In the Layers panel, tap a layer to bring up Layer Options, then tap Combine Down.
If you use Combine Down on a layer that sits directly above a Layer Group. When doing this, your layer will become part of the existing Group.
You can also combine a Group with a layer below, or combine two Groups.
Learn more about Layer Groups .
Sorry. We’re having trouble copying to your clipboard.
Try directly copying the link below.
Still have questions?
If you didn't find what you're looking for, explore our video resources on YouTube or contact us directly. We’re always happy to help.